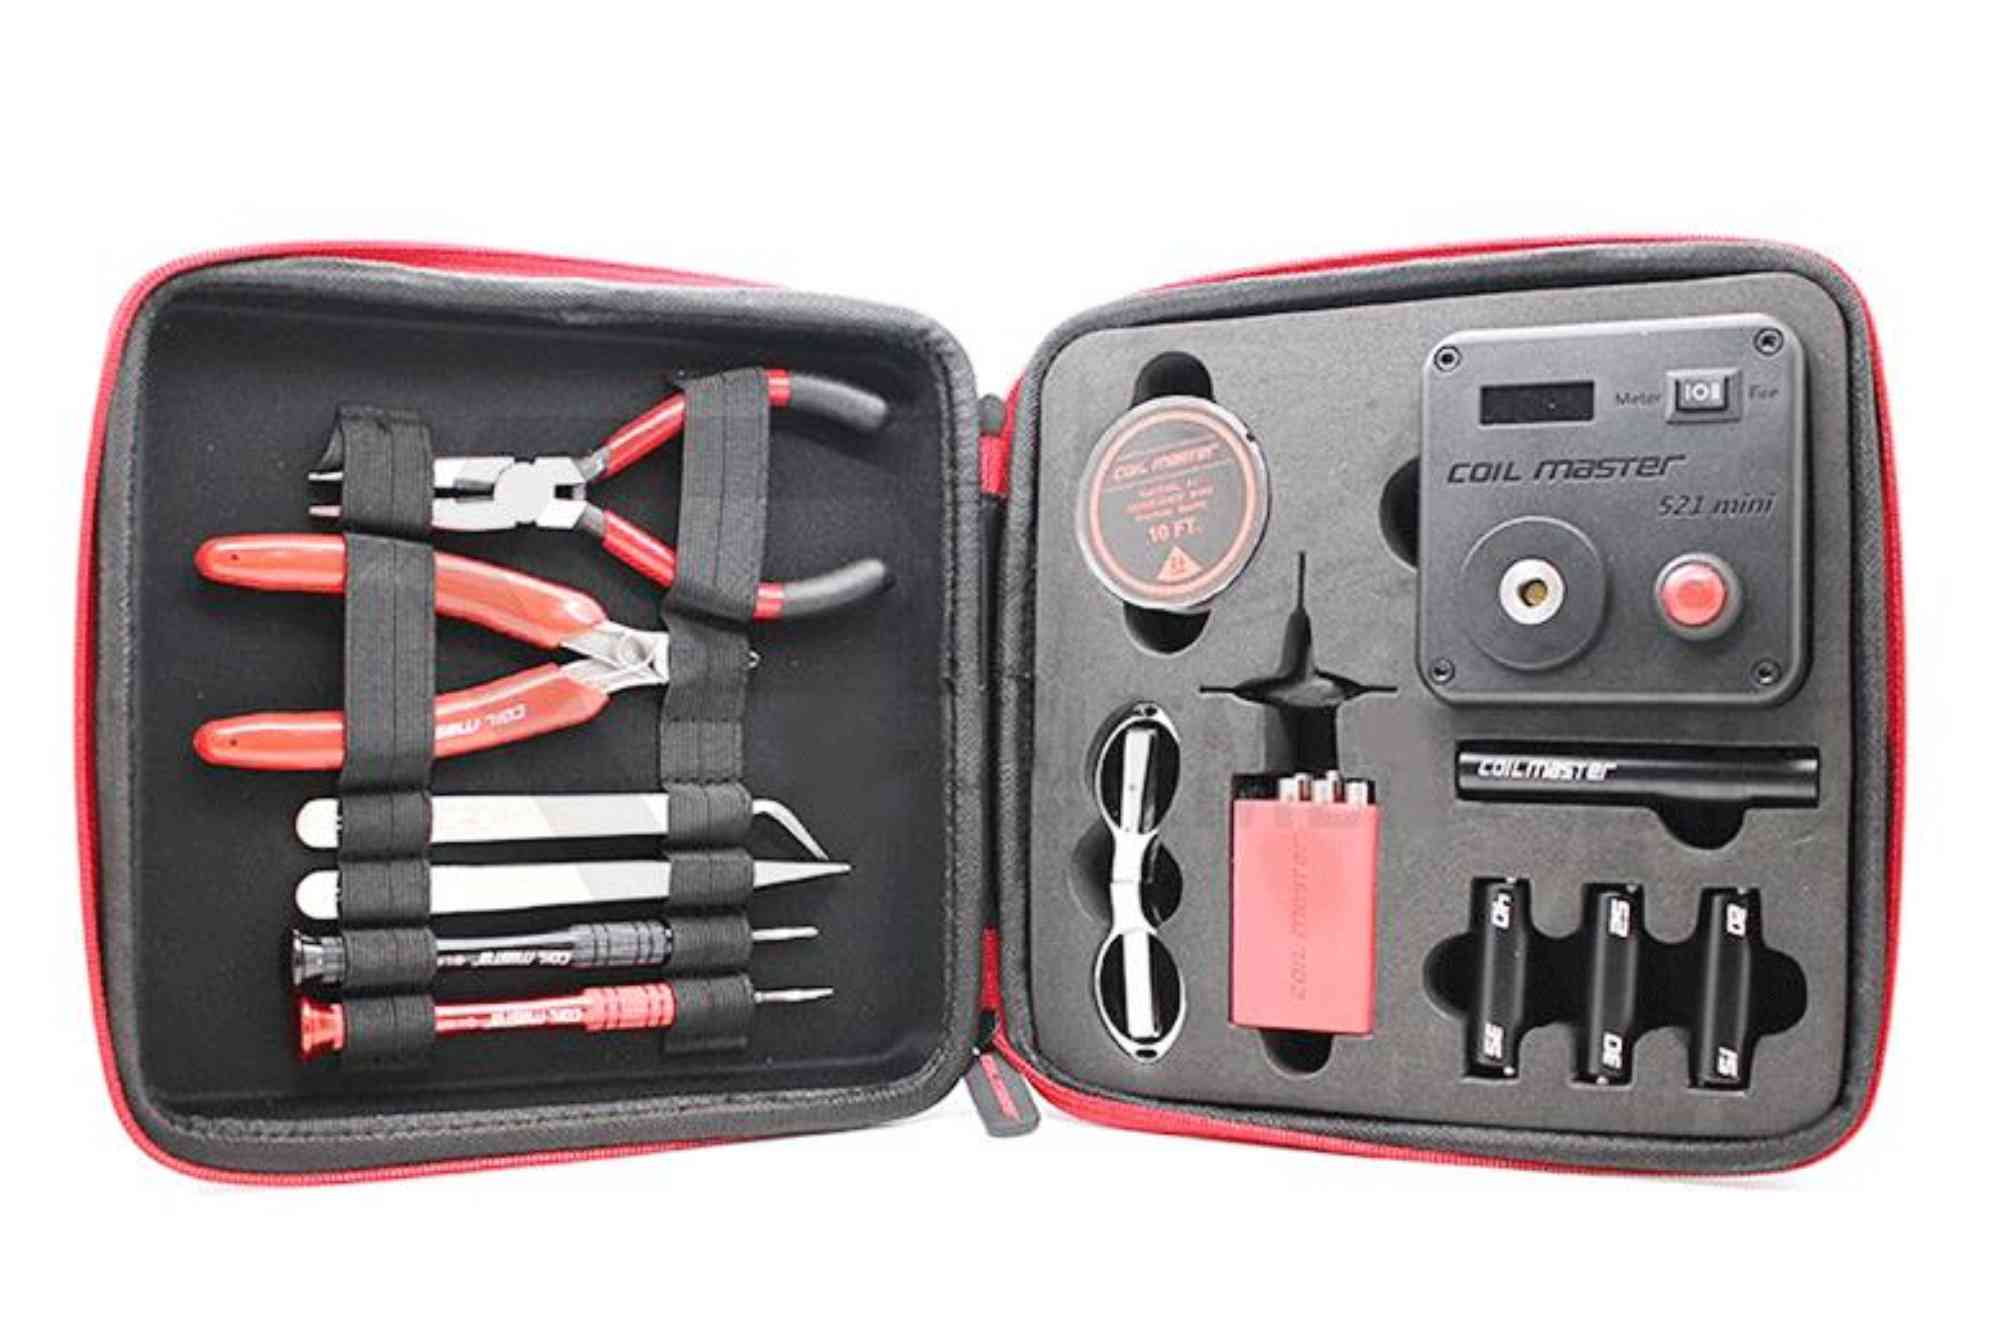
Making your own vape juice is both rewarding and cost-effective. With the right DIY vape tools, you can mix flavors, nicotine, and base liquids to create customized e-liquids that perfectly suit your preferences. But success in DIY vaping doesn’t come from guesswork—it starts with having the right equipment and knowing how to use it safely.
In this guide, we’ll explore the must-have tools for mixing e-liquids at home. Whether you’re just starting out or refining your setup, understanding these essentials will make your mixing process smoother, safer, and more consistent.
Why Proper Tools Matter in DIY Vaping
Precision and safety are critical when handling nicotine and other vaping ingredients. Using household substitutes or makeshift equipment might seem convenient at first. However, even minor measurement errors or contamination can lead to harsh hits, wasted ingredients, or health risks.
Investing in quality DIY vape tools ensures accurate mixing, cleaner results, and a far more enjoyable vaping experience. Let’s dive into the essential gear every home mixer should have.
Measuring Equipment for Accuracy
Digital Scales for Weight-Based Mixing
When mixing by weight, digital scales offer unmatched precision. They remove the guesswork associated with volume-based methods and ensure consistency from batch to batch. Scales with a 0.01-gram resolution are ideal for DIY vaping because they can accurately measure even tiny amounts of nicotine or flavoring.
Graduated Cylinders and Beakers for Volume-Based Mixing
Some vapers prefer mixing by volume, especially when first starting out. For that, scientific-grade measuring tools are crucial. Unlike kitchen measuring cups, these tools offer finer gradations and better accuracy. Glass or BPA-free plastic is best, as they’re easier to clean and don’t react with PG, VG, or flavor concentrates.
Bottles and Storage Containers
Squeezable Plastic Bottles for Mixing and Storing
These bottles are the backbone of DIY e-liquid production. Look for ones with child-resistant caps and narrow tips for easy filling. Ideally, you should keep separate bottles for nicotine, base liquids, and final e-liquid blends to prevent cross-contamination.
Amber Glass Bottles for Steeping
Steeping improves the flavor of e-liquids over time. Amber glass helps protect your juice from UV light, which can degrade flavorings and nicotine. Airtight seals and dark storage also help maintain freshness during steeping.
Tools for Mixing and Blending
Magnetic Stirrers for Homogeneous Mixing
If you want to take your mixing to the next level, consider using a magnetic stirrer. It provides a hands-free way to blend ingredients thoroughly, which is especially helpful for larger batches or complex flavor profiles.
Handheld Milk Frothers for Small Batches
For smaller volumes or quick blends, a handheld frother can do the trick. It whips PG, VG, and flavoring together efficiently and works well for mixes that don’t require steeping.
Nicotine Safety and Handling
Protective Gear: Gloves and Safety Glasses
Nicotine is a potent substance. Even small skin exposures can cause nausea or other symptoms. Always wear nitrile gloves and safety glasses when handling it. Working in a well-ventilated area with no distractions helps prevent spills or accidents.
Syringes with Blunt Needles for Nicotine Dosing
Syringes provide accurate control over small liquid volumes. Use dedicated syringes for nicotine to avoid accidental overdosing. Blunt-tip needles offer precision without the danger of sharp points.
Flavoring and Ingredient Organization
Labeling Tools for Tracking Batches
When you’re creating custom blends, labeling is crucial. Use waterproof labels to record mix dates, flavor ratios, and nicotine levels. This makes it easier to recreate successful recipes and track steeping progress.
Ingredient Racks and Drawers
A well-organized workspace saves time and prevents costly mistakes. Store your PG, VG, flavor concentrates, and nicotine separately. Consider using drawer dividers or spice racks to keep everything within easy reach.
Temperature Control Tools
Warm Water Baths for Faster Steeping
Some vapers use warm water to accelerate steeping. Placing your bottle in a warm bath (not boiling) helps flavors blend more quickly. Use a thermometer to keep the temperature under 60°C (140°F) to avoid damaging flavor compounds.
Infrared Thermometers for Monitoring
If you use heat-assisted steeping, an infrared thermometer lets you check the temperature without opening the bottle. This is especially useful when mixing in batches or when aiming for consistent results.
Cleaning Supplies
Isopropyl Alcohol for Sanitizing
Cleanliness is critical in DIY mixing. 70% or 90% isopropyl alcohol works well to sanitize tools, bottles, and surfaces. Always let items dry completely before use to avoid chemical contamination.
Pipette Cleaners and Bottle Brushes
Residue build-up can ruin a batch. Specialized cleaning tools make it easier to reach narrow spaces in dropper tips, syringes, and bottles. Consistent cleaning keeps your tools accurate and your e-liquid pure.
Mixing Software and Recipe Trackers
Online Calculators and Mobile Apps
Mixing software simplifies calculations and helps you get the most out of your DIY vape tools. Apps like eLiquid Recipes or Steam Engine allow you to input nicotine strength, VG/PG ratios, and flavor percentages. They’ll instantly tell you how much of each ingredient you need.
Spreadsheet Templates for Custom Tracking
If you prefer a DIY tracking method, spreadsheet templates can work well. Build your own to track batch size, cost per bottle, steep time, and flavor notes. It’s a great way to refine your craft over time.
The Learning Curve: Start Small, Scale Smart
Starting with small batches is smart. It reduces waste if a mix doesn’t come out right. Once you’ve found a flavor profile you love, scale it up confidently with the same tools. Consistency is easier to achieve when you rely on accurate measurements and proper gear.
Using professional-grade DIY vape tools doesn’t mean mixing becomes robotic. Instead, it frees you to focus on the creative side of flavor crafting while minimizing risk and error.
FAQs
What do I need to mix my own vape juice?
You’ll need tools like digital scales, syringes, bottles, gloves, and flavorings. Accuracy and cleanliness are key.
Can I use kitchen tools for DIY e-liquid mixing?
While it’s possible, it’s not ideal. Kitchen tools lack the precision required for nicotine and flavor measurements.
How do I measure nicotine accurately?
Use a syringe or digital scale for exact dosing. Always wear gloves and handle nicotine in a safe workspace.
Do I need to steep every vape juice?
Not always. Some mixes taste great right away, but steeping improves complex flavors over time.
Is mixing vape juice at home safe?
It is safe if you follow proper procedures: use protective gear, measure carefully, and store ingredients responsibly.
Ready to Start Mixing?
DIY e-liquid mixing is a rewarding hobby, but only when done with care and the right equipment. From digital scales to magnetic stirrers, these DIY vape tools are essential for any home setup. They don’t just improve results—they make the entire process more enjoyable, efficient, and safe.
Ready to dive in? Start small, gather your tools, and mix your first batch today. With practice and the right gear, you’ll be crafting custom vape juices that taste even better than store-bought.


